LinkedIn is known as the professionally-minded Facebook. It’s a social network for users who want to keep their business and personal lives separate. It’s a great way to find jobs, connect with our professionals, and share interesting articles that other professionals would be interested in.
Recently, LinkedIn has been working to improve the quality of their social media platform and make it more accessible for new users. Along with a complete redesign of the website that not only makes it faster but also easier to use, LinkedIn has added new features that make it simpler for you, the user, to share new content with your followers.
One of these features is the Pulse. Although Pulse has been available for a few years to certain users, it was only recently made available to every user. Pulse is a blog publishing platform that’s exclusive to LinkedIn users. It makes it easy for anyone with a LinkedIn account to publish their own blogs, with some really robust features and tools.
Publishing your own blogs on Pulse is not only a great way to bring in new users to your website, but it’s also a great way to give customers insight into your business. After all, transparency is a hot trend in the business world these days, and social media is a key part of promoting healthy customers and business relationships.
Here are a few tips for publishing on LinkedIn Pulse.
Login To Your Account
In order to start publishing on LinkedIn Pulse, you first need to login to your LinkedIn account. If you don’t already have a LinkedIn account, now is a good time to sign up. You can’t publish on Pulse without first creating a LinkedIn account. But don’t worry, signing up is free and easy. For more on how to create and use your own LinkedIn account for business, check out our previous blog post on the subject.
Write An Article
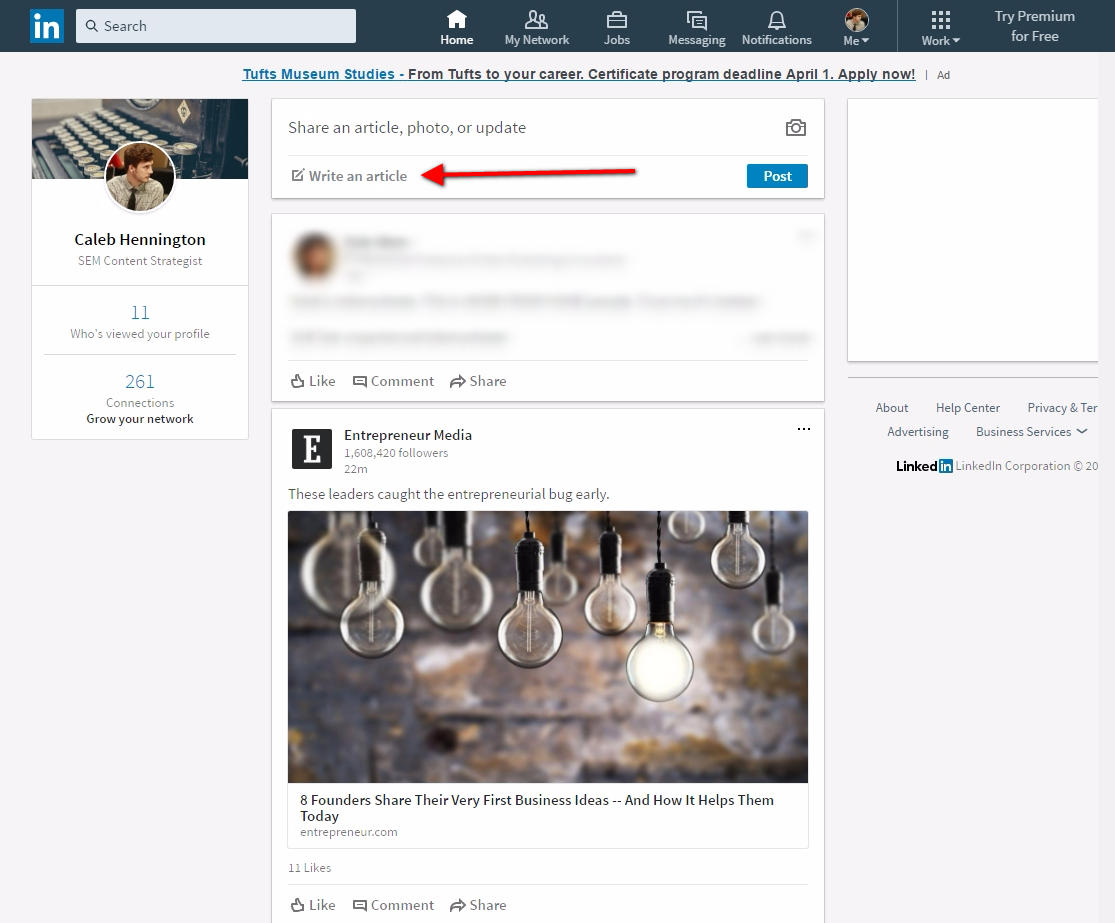
After logging in to your account, you’ll need to start creating your article. To create a Pulse article, simply click on the button that says “Write An Article,” which is located at the top of your news feed where you usually post status updates.

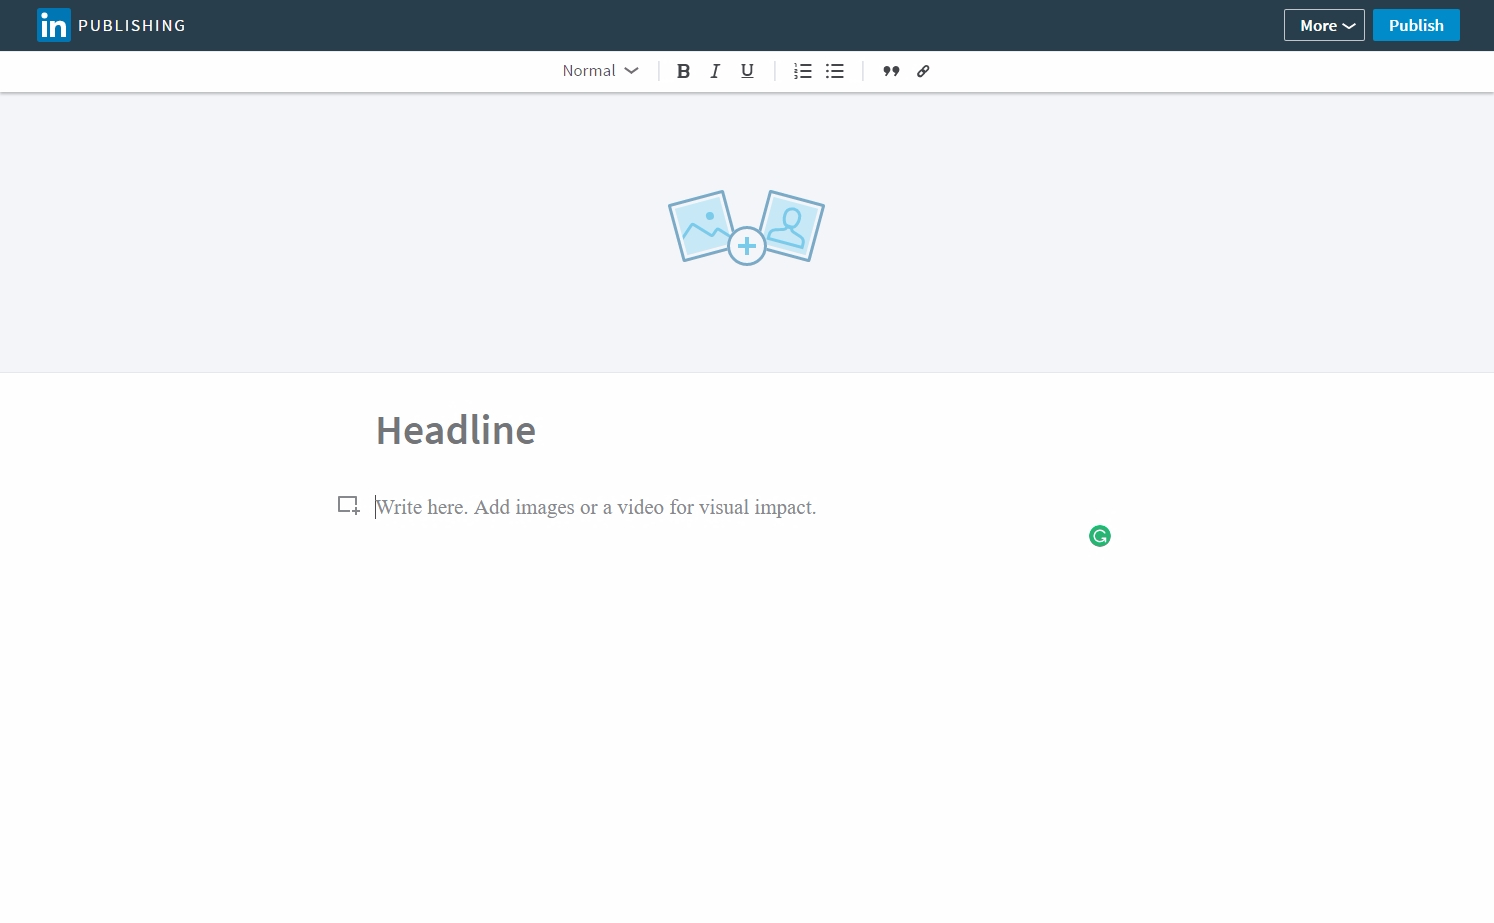
You’ll be brought to the article editing page, where you can begin writing your Pulse post. You’ll see multiple options for creating your post, including giving it a headline, adding a cover photo for your post, and adding the body of the blog post.
Use Tools To Optimize Your Article
If you want to add media element to your blog post, just click the box with the + sign to bring up multiple media options, like images, video, slides, links, and snippets.

You can also change the font style and size of your body text, as well as options to make your text bold, italicized, and underlined. You will see many of the same options that you are used to in most text editing programs, such as Microsoft Word or Google Documents.
Publish
After you’ve finished writing your article and adding some interesting media elements, just click the Publish button in the top right corner of your post. Before it’s published, you will see a preview of how your article will appear to your followers. You can write a status update to go along with your article, but this isn’t required. Click Publish again once your status is exactly how you want it to be, and your article will publish as a status update to all of your followers.

LinkedIn Pulse is a great new way to connect to all of your followers on the social network. Transparency is a big trend in today’s business world, and connecting to your customers through blog posts on Pulse is a great way to be more transparent.


Leave a Reply