Google is a powerhouse in the tech world. As the No. 1 search engine in the world, Google gets more than 1 billion visitors to its site each month, and these people are searching for everything you can think of. From ways to get rid of mustard stains on a new white t-shirt, to tasty new restaurants to try out during a night on the town with friends, Google has become an integral part of society’s everyday routine. So much so that it’s even become a verb; like, “Hey, Tim, can you Google how to put out a fire when your fish fryer bursts into flames and coats your skin in hot lava? Very urgent, please. Thank you.”
Knowing all of this, it seems silly to be a business owner who DOESN’T already have their business listed on Google. But never fear, humble business owners! This post is here to help get Jerry’s Salty Sailor Sardines on the market, and get you discovered by potential customers in no time!
Getting Started
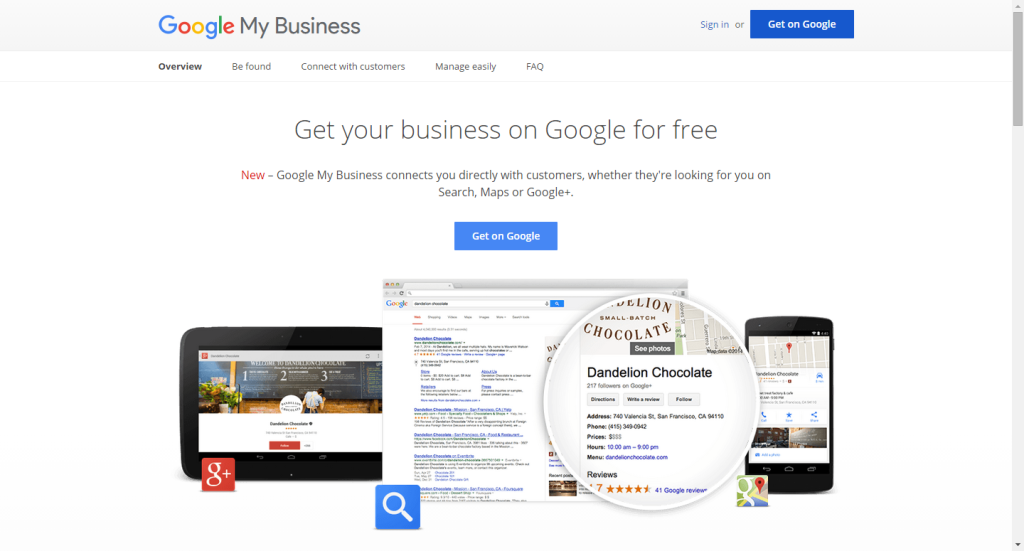
The first thing you’ll need to do is navigate to the Google Business landing page, by clicking here. You’ll then have to make sure you’re signed into your Gmail account. If you don’t have a Gmail account, it only takes a few simple steps to get one.
Next, click on the blue button that says “Get On Google.” This will begin the process of setting up your business listing.
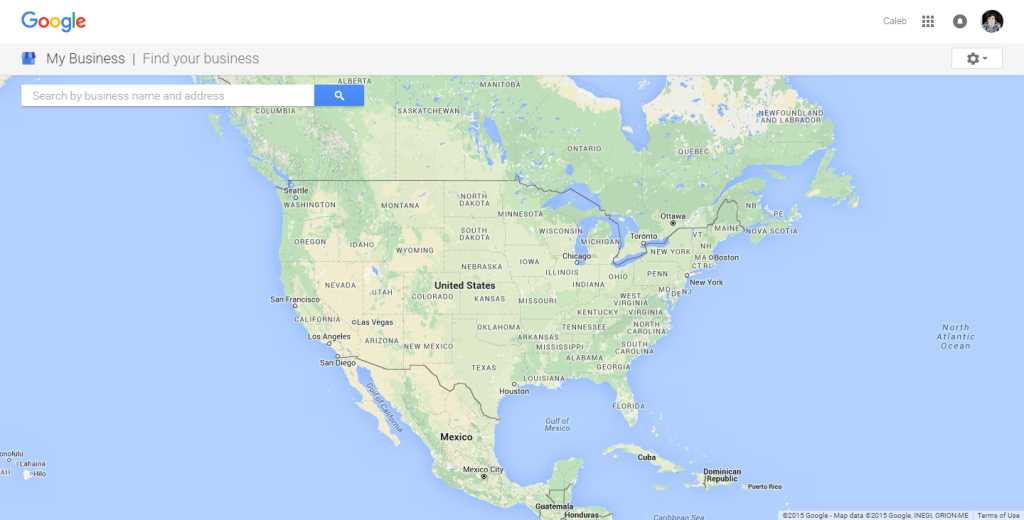
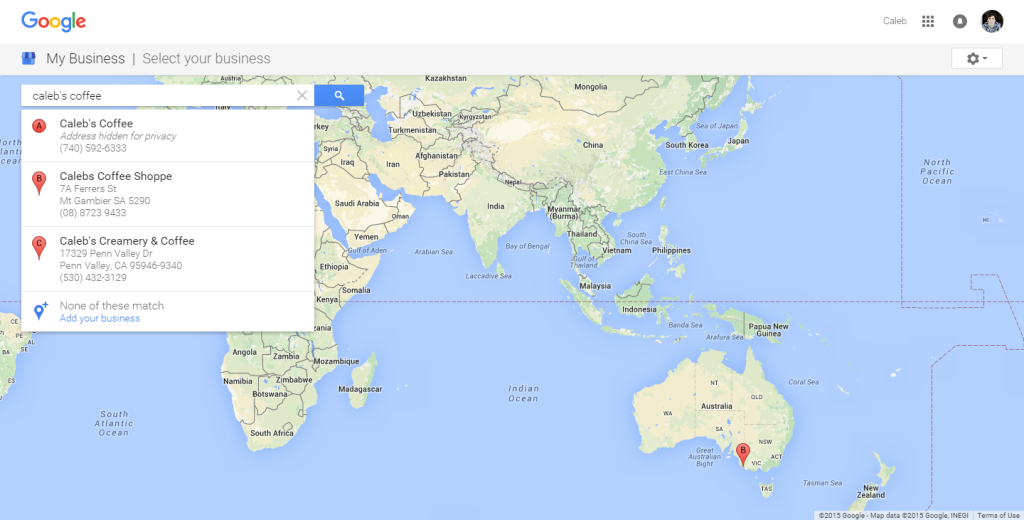
You’ll have to use the search bar on the left side of the screen to look for your business. If it’s not already listed on Google, you can click the blue text that says “Add Your Business.”
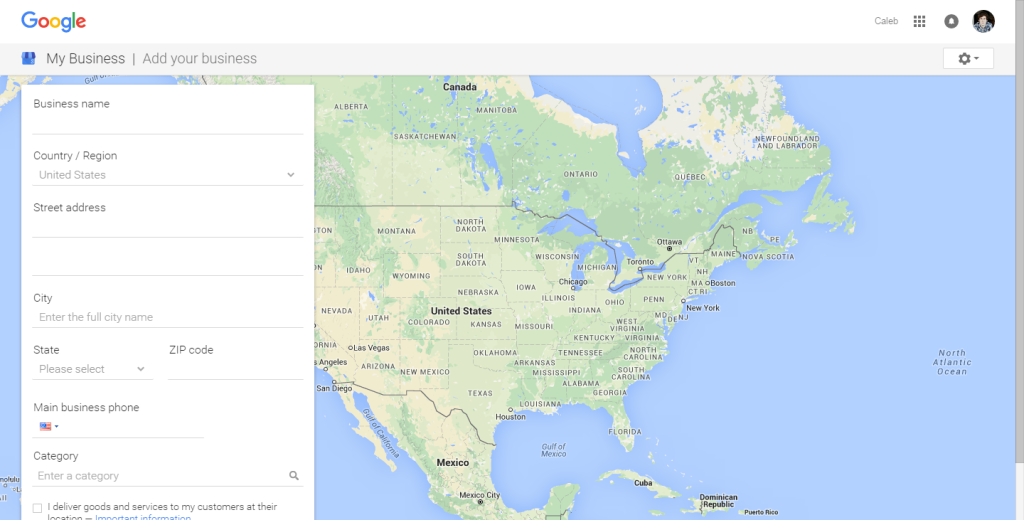
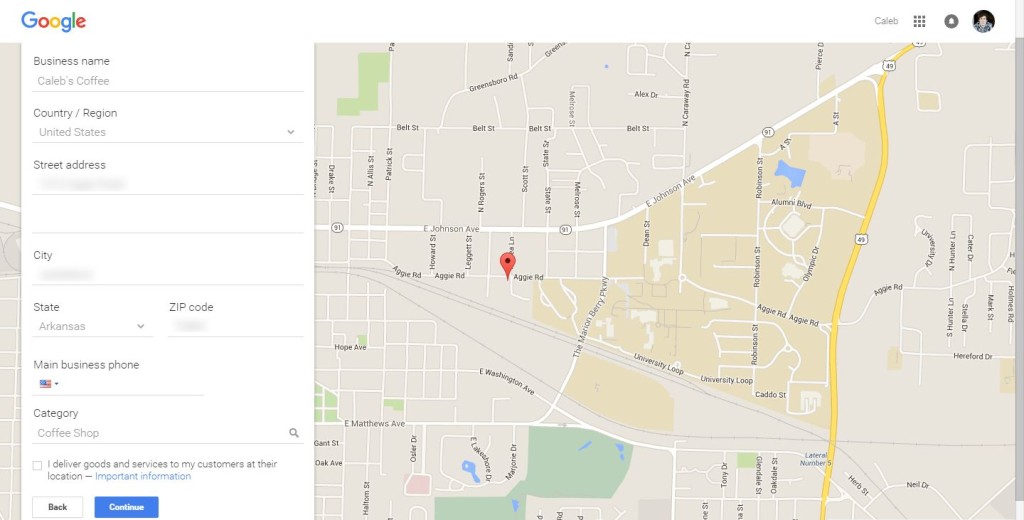
Then, fill out the basic info for you business, such as the name, address, phone number, and category that your business fits into. You can also check a box at the bottom that says “I deliver goods and services to my customers at their location,” but this is optional. Click continue when you’ve got your info entered how you want it to look.
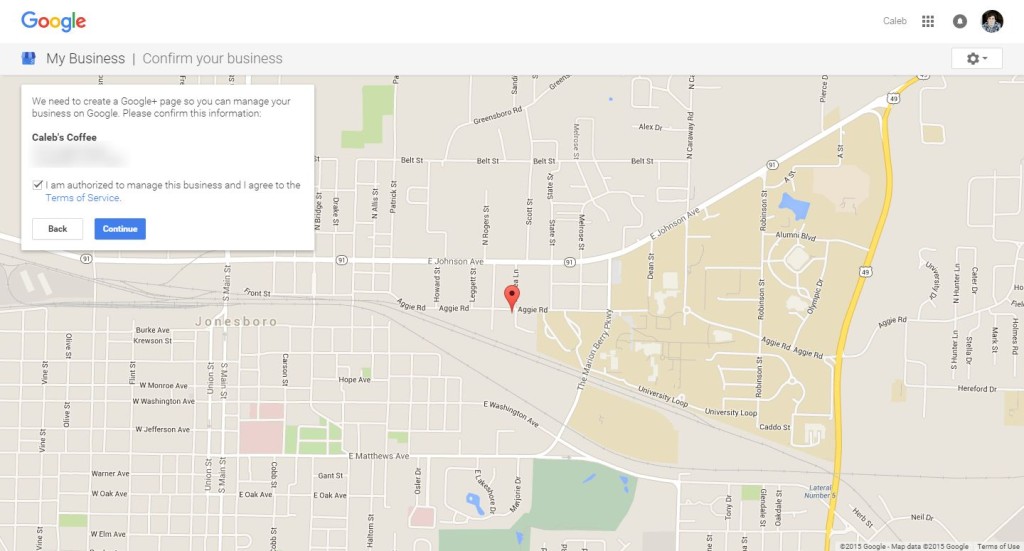
Google will then ask to create a Google+ page for you to manage your business listing. Read through the terms of service, check the box, and then click continue.
Verify Your Account
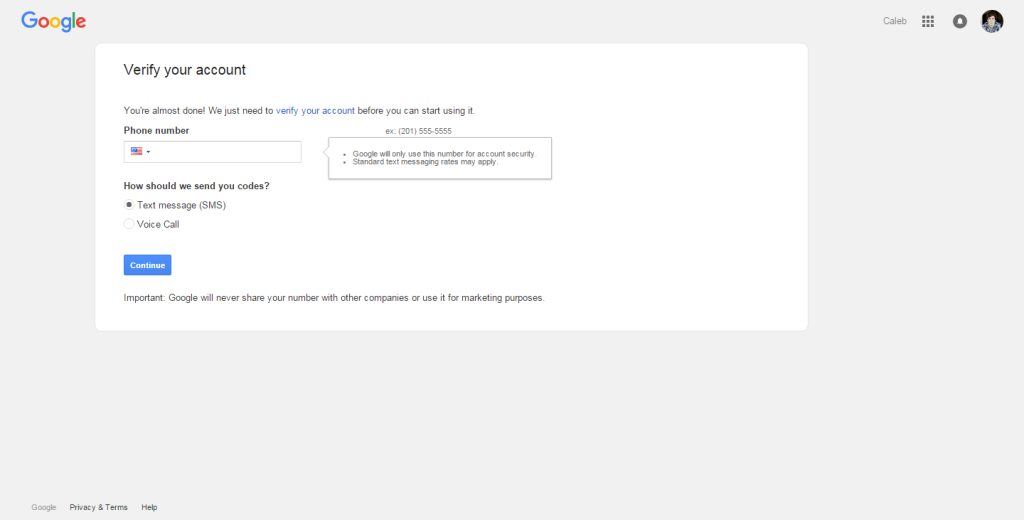
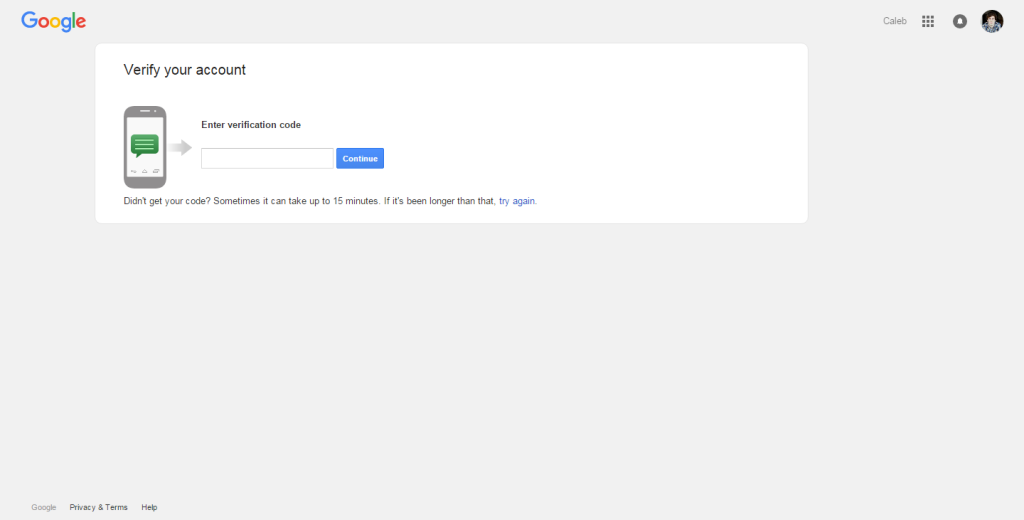
Next, you’ll have to verify your account by phone, via text message or phone call. Google will send you a code, and you’ll need to type that number into the verification code box.
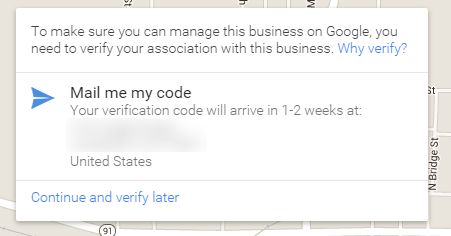
Then, you’ll be notified that in order to manage the business page on Google, you’ll have to verify your association with the business through the email. If you don’t want to do this right now, you can choose to skip it and do it later. Note: in order to have full control of your Google Business listing, you will have to verify it this way at some point.
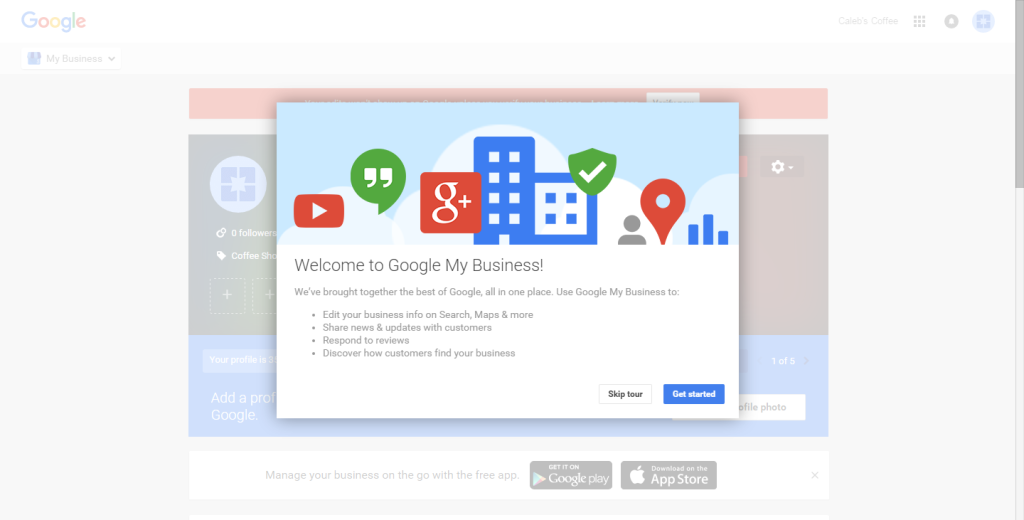
Google will then guide you through a lot of the different sections of your Google Business page, or you can skip this part.
Editing Info
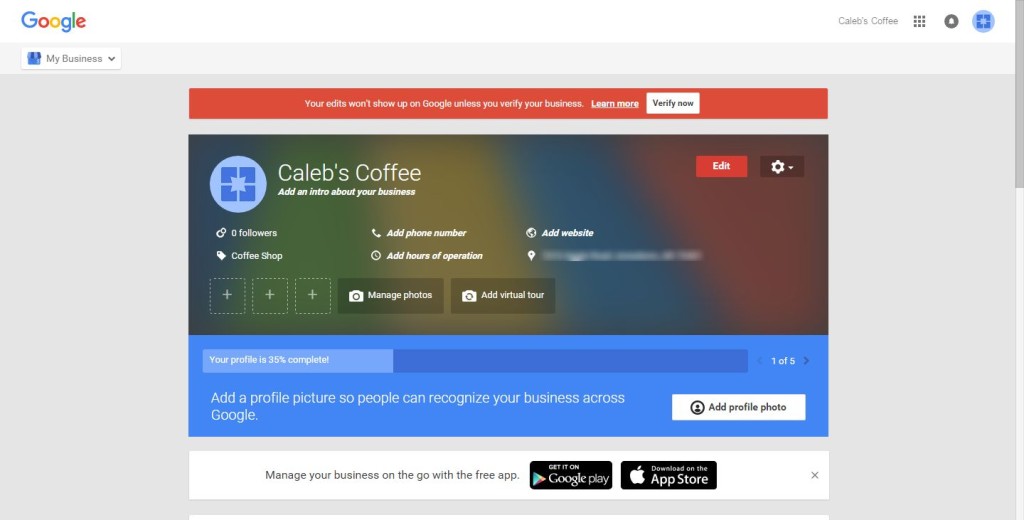
There are a lot of different things you can edit on your page individually by clicking on the different parts of your page, but if you want to edit a lot of info at one time, you can click the orange “Edit” button in the top right corner.
Once you fill out all of your info, you can click “Done Editing” at the bottom to save these changes. Some things will be off-limit for editing until you verify your business through the mail. If you need Google to send you a verification letter in the mail, click the “Verify Now” button on the orange bar line at the top of your screen.
That’s it for setting up your Google Business listing! That wasn’t so hard, now was it? Be sure to explore your listing page to get the most out of all the tools that Google offers you, and you’ll be getting more customers to your store before you know it!



Leave a Reply